Signed in as:
filler@godaddy.com
Signed in as:
filler@godaddy.com

All of our oyster mushroom grow kits have the same basic requirements to produce mushrooms - fresh air exchange, high humidity and at least enough light to read a book. All blocks should fruit in typical indoor conditions when these instructions are followed.

Blue-Grey Oyster mushroom grow kits will reliably fruit at temperatures above freezing up to around 25°C. At colder temperatures (below 15°C), their blue-grey colour will be deeper and more pronounced.
White Oyster mushroom kits are versatile, fruiting in temperatures above around 13 degrees Celsius, making most rooms suitable.
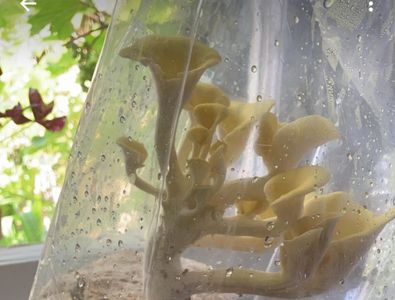
Yellow Oyster mushroom kits will fruit best at temperatures from 22°C to 26°C, but as with other oyster mushrooms, they are fairly forgiving of conditions and should reliably fruit at temperatures above 16°C.
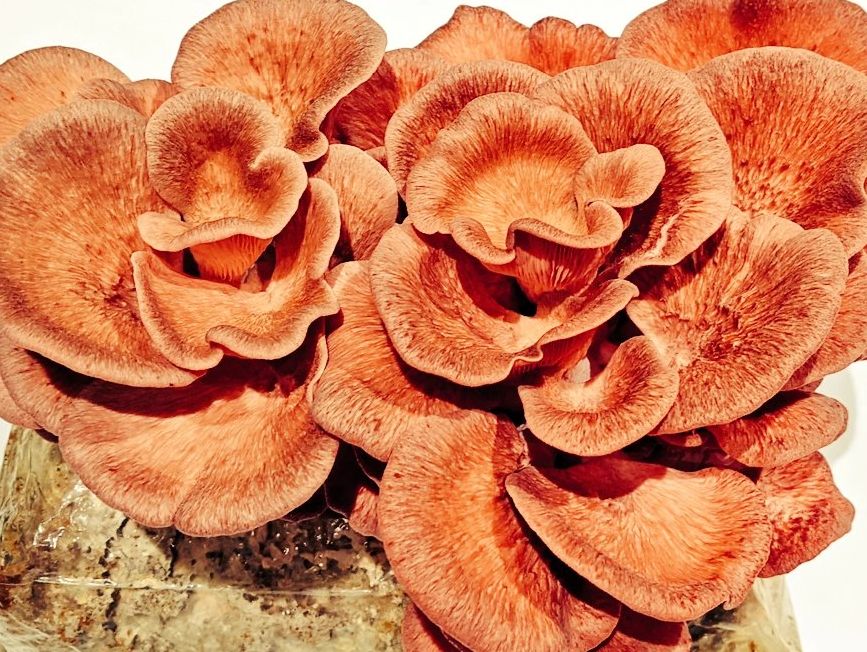
Pink Oyster mushroom kits love hot weather. They will reliably fruit at temperatures of around 18°C to 32°C. Please note. Pink oyster mushroom kits should always be stored at temperatures above 10°C. They should never be refrigerated.
Inducing Your Kit to Produce Mushrooms
•For all oyster mushroom varieties except pink oysters, place your mushroom block in the fridge overnight. This cold shock will help to induce fruiting (if you can already see pins forming under the plastic, you can skip this step).
•Carefully cut one or two X shaped holes into the plastic along one of the sides of your block. If pins are already forming, try to aim your cuts to liberate the largest clusters. Avoid cutting deeply into the substrate block or folding back large areas of plastic as this will reduce humidity.
•Place the mushroom block in a place with at least enough light to read a book, away from direct sunlight.
•Use a mister to spray your mushroom block 2-3 times daily. If you don’t have a mister, you can just throw some water onto the holes in the plastic to keep the surface of the block moist.
•Your first flush of mushrooms should begin to grow soon, with the first signs of pins usually appearing within 5-14 days. You’ve reached the fun bit.
•Your mushrooms will now grow rapidly, approximately doubling in size every 24 hours and growing fully within 3-7 days from the first sign of pins.
•Aim to harvest your mushrooms as the caps begin to flatten. This is a sign they are going to start shedding their spores.
•Harvest by holding the base of the stalks and twisting. Alternatively cut with a knife or scissors as close to the substrate block as possible.
•Continue to mist your block. You should be able to get at least 2 further flushes from it, with around 7-14 days between crops. If you don’t get your second flush within 14 days, try increasing humidity, cold shocking the block in the fridge for 24 hours, or submerging the block in cold water for at least 12 hours.
These mushroom blocks are generally able to produce 3 or 4 flushes of oyster mushrooms if kept well hydrated. After this, they can be put on the compost, where you may be rewarded with an additional flush of mushrooms. Alternatively, the spent substrate makes for a nutrient rich fertiliser to give your garden a boost.
Unfortunately the outer bag is not compostable. Please dispose of it responsibly.

Oyster mushrooms absolutely love a humid environment. In most instances, the moist microclimate created by cutting the plastic and spraying with water will be sufficient to induce pinning. If it does not, try raising humidity by placing a clear plastic bag over the block.
If doing this, be sure to remove the bag regularly to allow for fresh air exchange, and when pinning starts, remove the bag completely.

Before cutting the plastic on your mushroom kit, a cold shock can help to induce fruiting conditions. This can be done by placing the block in a fridge overnight, or leaving it outside overnight (in temperatures above freezing).
If your kit is slow to produce oyster mushrooms, try giving the kit another cold shock. This can also work if a second flush is not emerging.

Oyster mushrooms are 90% water, so keeping your mushroom block well hydrated is crucial to getting plentiful harvests. For this reason it is advised that you cut a cross (or several crosses) in the plastic, rather than removing it completely.
You may find that the block dries out significantly after producing the first flush of mushrooms. If this happens, or if you forget to water it for a few days and it dries out, try dunking it in a bucket or basin of cold water overnight.
The blocks are very buoyant, so can be hard to weigh down under the water. But if you place the bag, cut side down, and allow water to flow up through the cuts, it will help to rejuvenate the kit, ready for your next flush.

Oyster mushrooms need plenty of fresh air exchange when fruiting. If your mushrooms are growing with long stalks and small caps, it's a good indicator that they are not getting enough oxygen.
If you have the kit covered with an additional plastic bag to increase humidity, remember to remove it when pins start to form.
This website uses cookies to analyze website traffic. It apparently makes for a better browsing experience. I'm not sure if that's actually true though. I always reject cookies personally, but if you do click yes, your data will be aggregated with all other user data.